Here are some truths:
- In every product development, something unexpected happens
- No two product developments are the same
- There is no such thing as a fixed successful method of product development
That said, I do use a framework of a process that I adapt for each product development or improvement that I would like to share here. Below I outline the key milestones that I generally work to and some insights about each stage of product development.
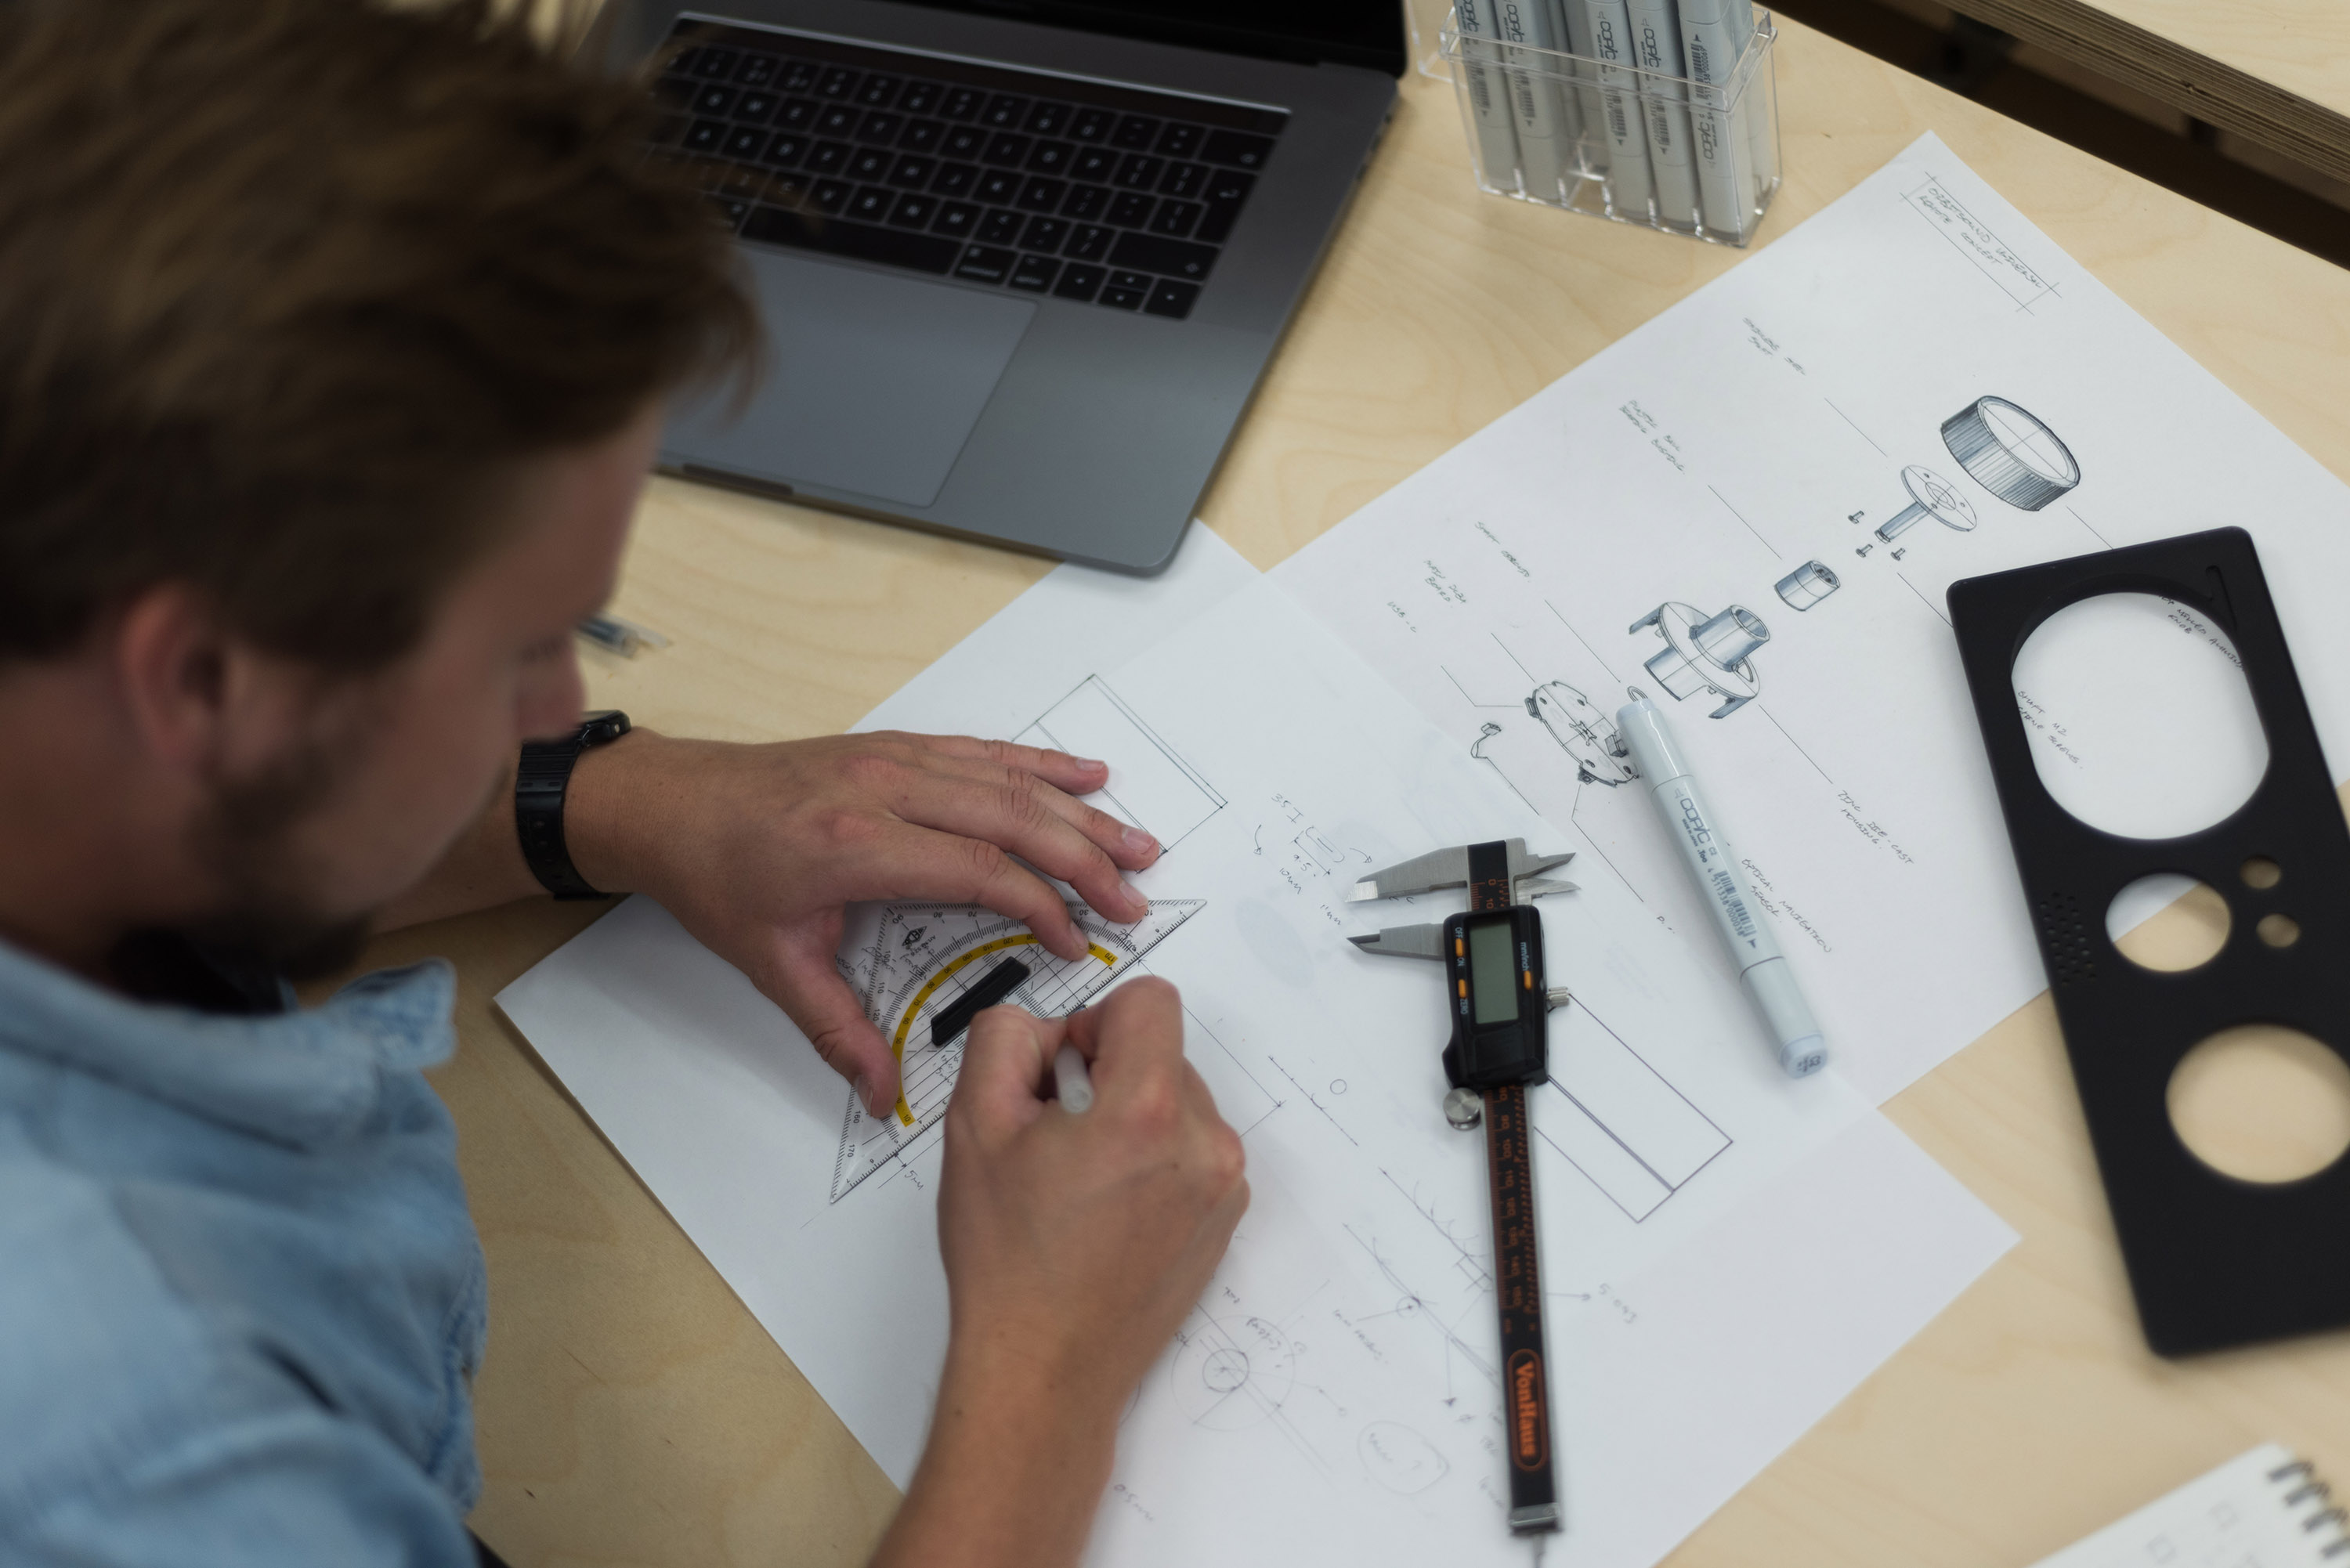
1) Ideas and models
“Think, talk, play with ideas, make stuff, repeat”
This stage is all about getting to the roots of the product concept. Lots of drawings, software examples, use case writing. This arguably is the most important stage in the whole process, and it all happens in thinking, discussion, and creativity in the core team.
Often at this stage, meetings and discussions can last for hours about seemingly insignificant things, and can (sometimes) feel like a waste of energy. For example, some grille detail, user interface design conundrum or fabrication challenge. However, it’s amazing how much a product can be improved in discussion and thought experiment only. Any work saved from later in the project will be big savings indeed.
The advice is to go deep, think hard, and be incredibly thorough in thinking through the product concept. Often only when describing something fully do subtle issues appear.
The output of this stage is a product definition and design, so complete that everything from here on is easy, right?
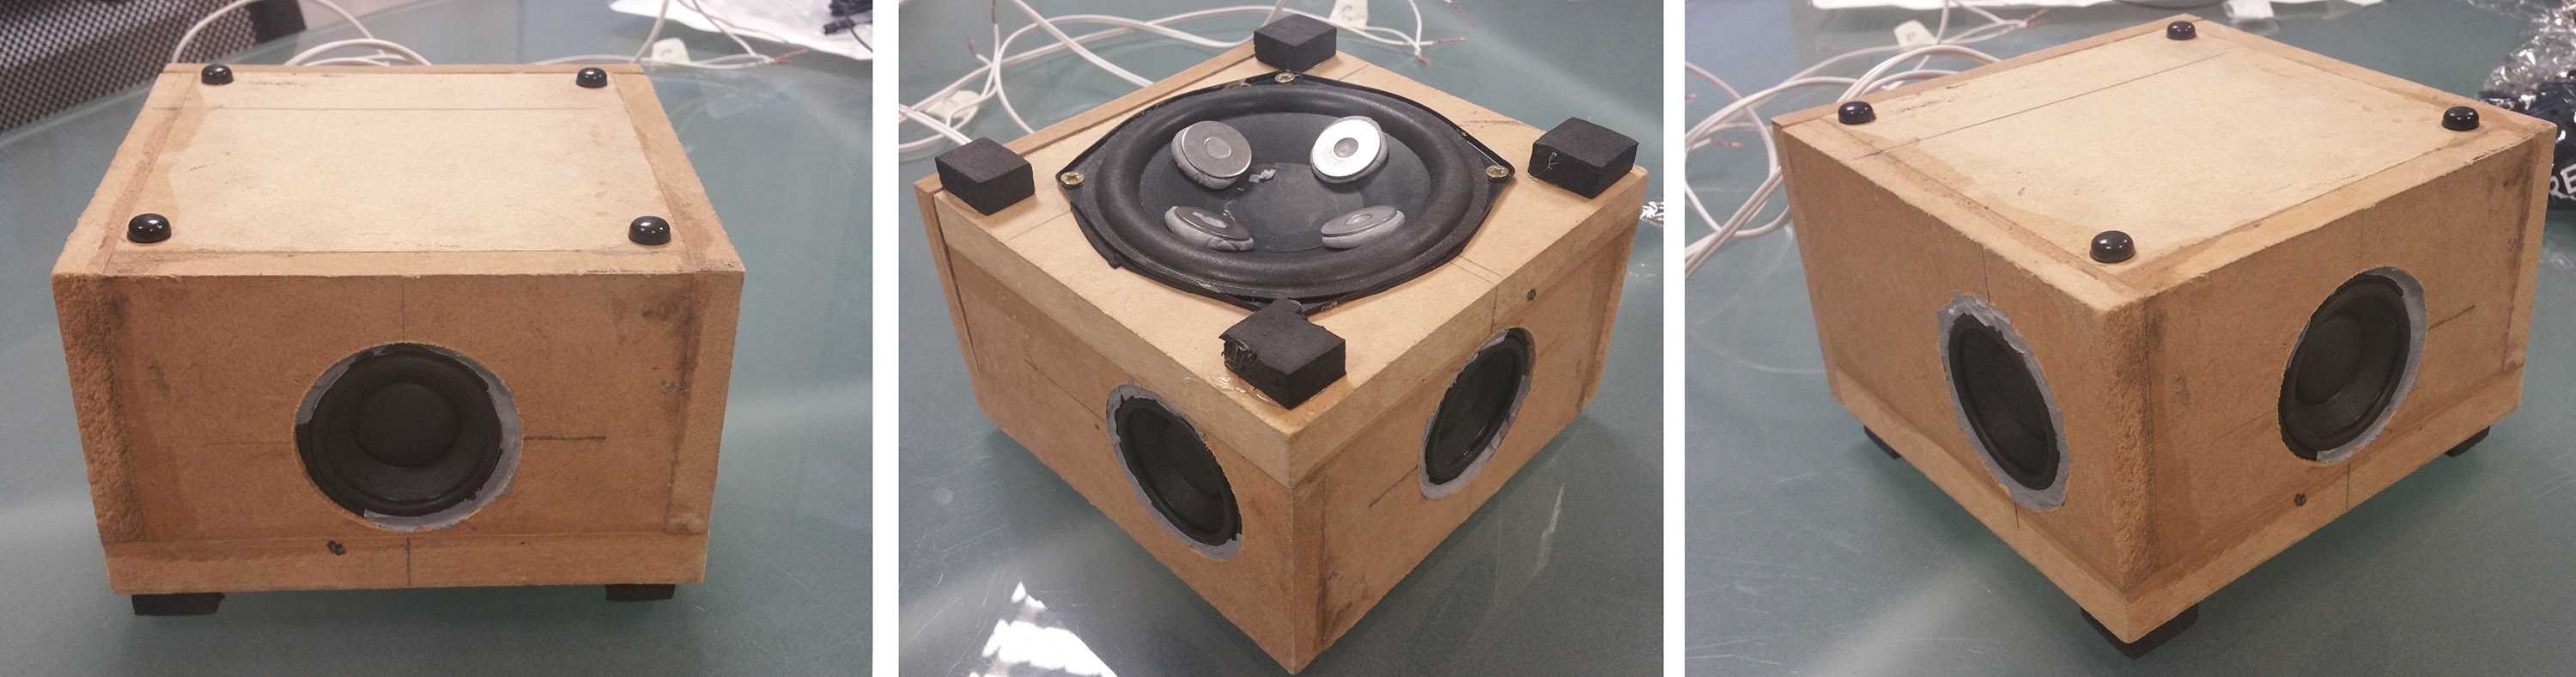
“For me, sound is super important, so there is usually some home-made acoustic mockup involved to test drivers, techniques, find limitations. Pictured here is one of the original acoustic prototypes of the Orbitsound DOCK E30 that was used to validate the drivers and passive radiator specs before speaking to anybody about making a physical sample.”
2) The presentation
“Take the key project requirements, and write them big on the wall somewhere.”
There comes a point where the project must be shared with a wider audience to progress. This is usually with your chosen manufacturing partner and associates (I am assuming that there is already a suitable partner chosen). At this point, people who will fabricate and produce samples need to come onboard.
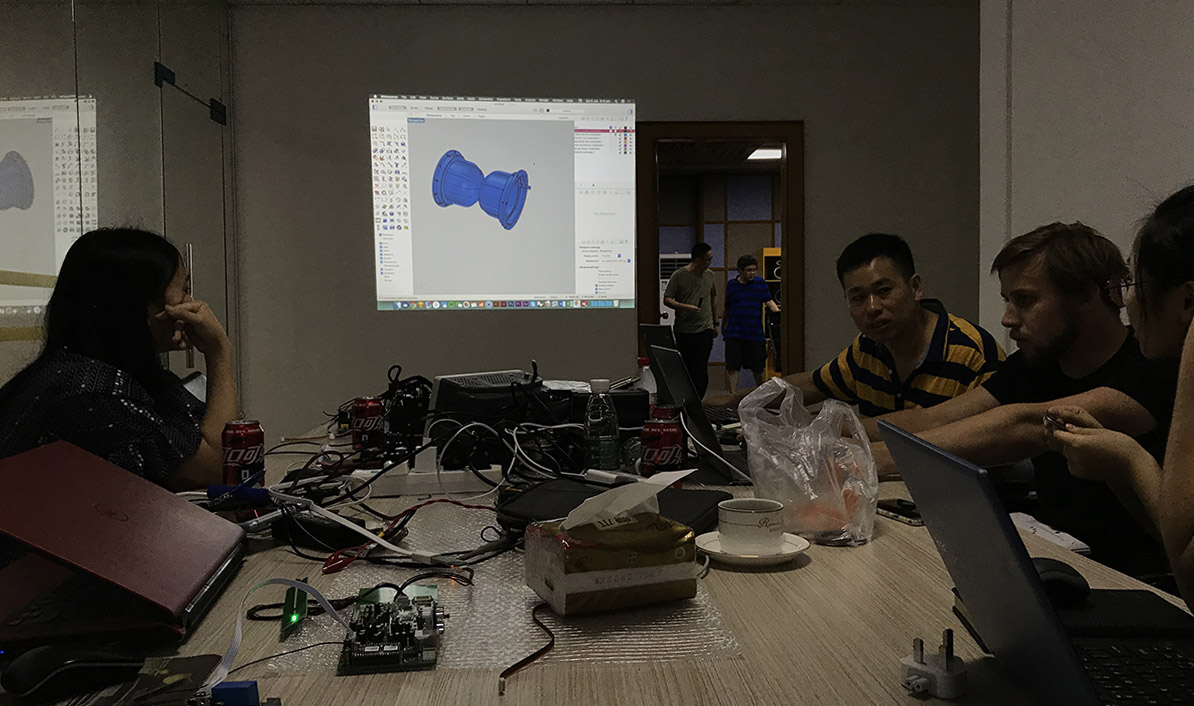
No matter how good the original design, mechanical, electronic and software specialists will see new details and challenges, and the discussion can become quite exciting. New things will come to light – this is OK and should be expected.
It’s incredibly important to be open to these insights. However, keep pointing to the original requirements that you wrote up on the wall. People will try to push the project to follow pre-trodden paths, and every project has things that push boundaries. Many decisions will have to be made about how to approach these challenges. Experience is key here to know when to hold your position, and when to compromise.
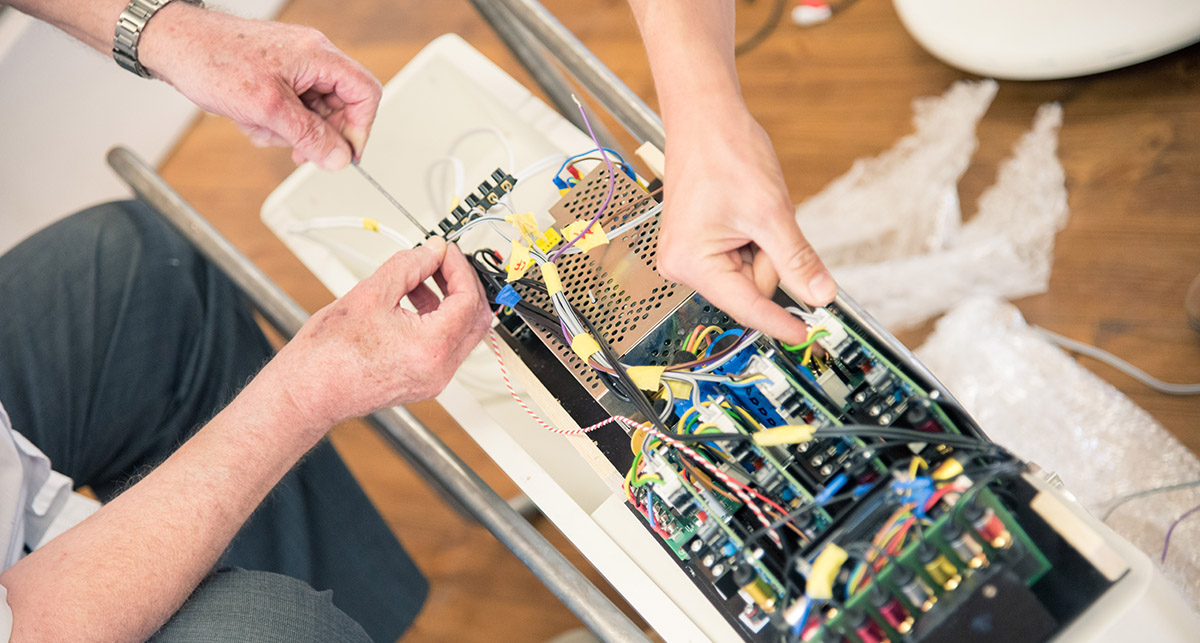
3) EVT Engineering Validation Test
“Work work work”
Evaluation Testing Prototyping starts with huge excitement. Talking for weeks and months suddenly results in something real that you can hold in your hands, work with, show people. EVT prototypes are rough around the edges because there is a lot of work to be done; and for electronic projects, the software must be developed. The excitement of the first turn-on quickly fades to the real task of painstaking development. Finding glitches, performance tuning, environmental limitations. It’s work, work, work.
One of the most challenging aspects of the EVT stage is managing expectations of people around you. Salespeople and managers will see an EVT product and think “Great the product exists, how exciting, well done! (translated to “job done, it’s finished”)”. However, The product is considerably far from being a thing that is made and bought. This is hard for people outside the close development team to understand.
Things will be improved, changed and must be retested, so EVT-2 and EVT-3 stages are often required, depending on the scope and complexity of the project.
4) DVT – Design Validation Test
“Measure twice, cut once.”
When all the mechanical and electronic changes for EVT have been tested. It’s time to make the product the way it will be made in manufacture. Tooling is tested, parts are made in short runs on big machinery, the cost of every activity is multiplied, the pressure mounts! This is the moment to commit: Any changes during and after DVT cost a lot of time and money, so everything must be rechecked. This is where all decisions to this point are tested.
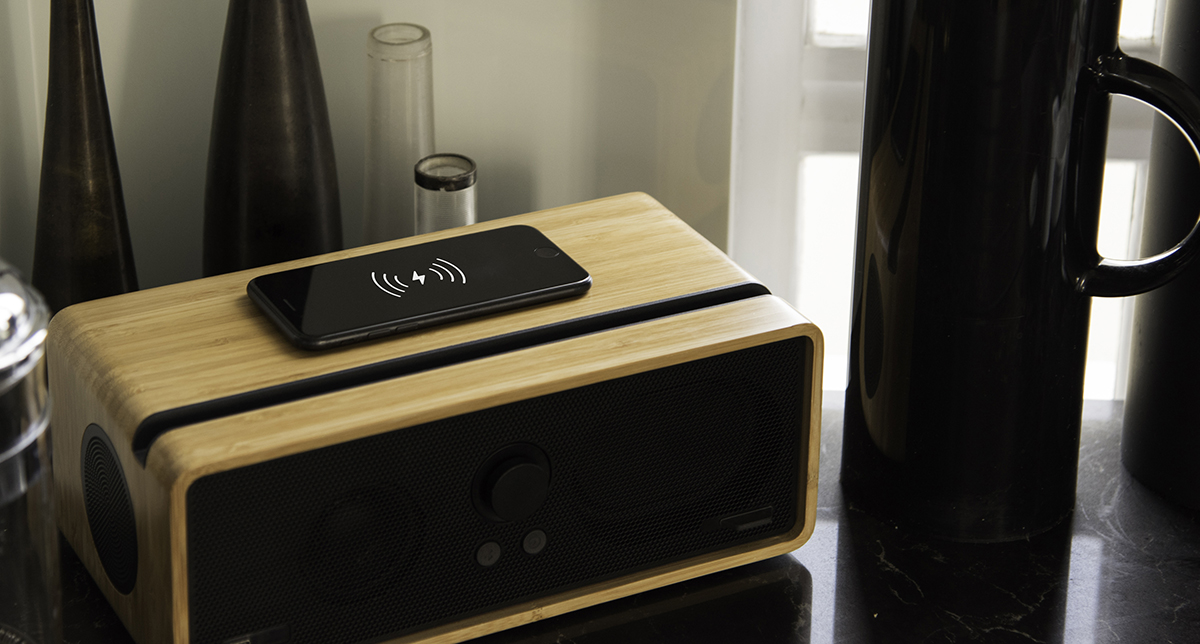
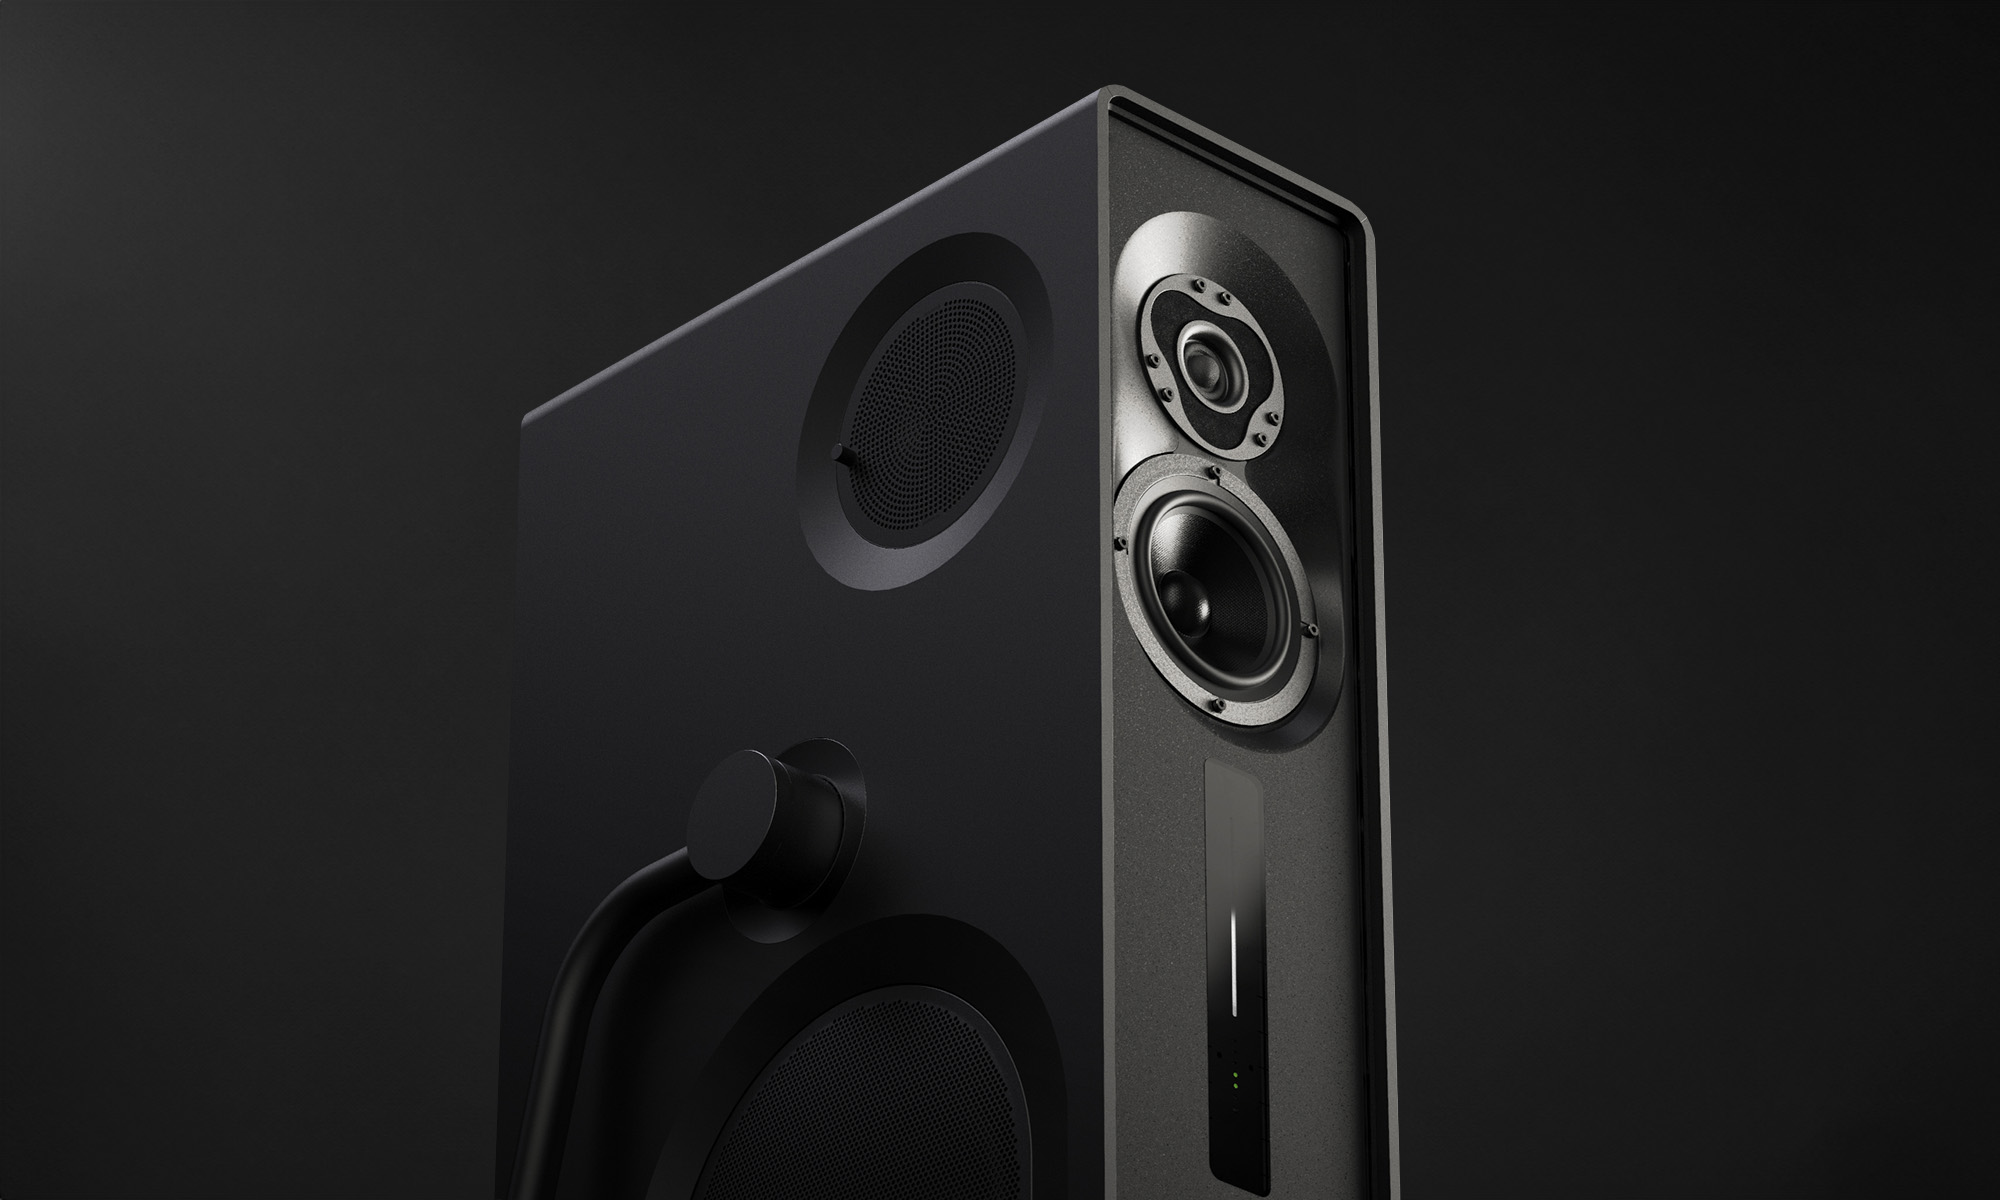
DVT units are often used for product photography to meet launch PR deadlines. Pictured is a DOCK E30 from DVT-2
DVT is key because it sets up the standard for the product in manufacture. Everything comes together, including discussions on the process of manufacture (SOP). Also, the conversation starts for tolerance standards for cosmetics, gaps, colour variation, all need considering carefully and coordinating with suppliers. The DVT samples are often sent off for regional certifications, long-duration testing, photography, PR, perhaps reviews? All of a sudden, this project that you have been managing is out there, and people are judging and testing it.
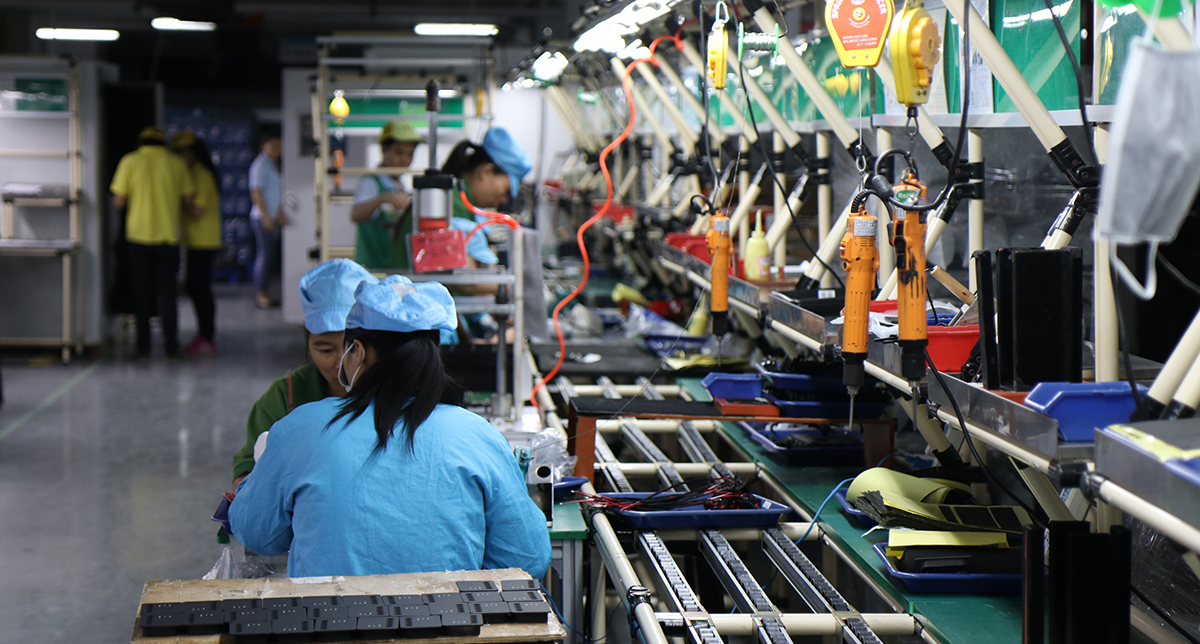
5) PVT – Production Validation Test
“The goal is to make the production look easy, with minimal handling”
Once the tools have all been tested, and the process agreed for manufacture, then it may be (and is always on a completely new product) necessary to do production validation testing. This is to test the production process in action, ideally, at normal production speed.
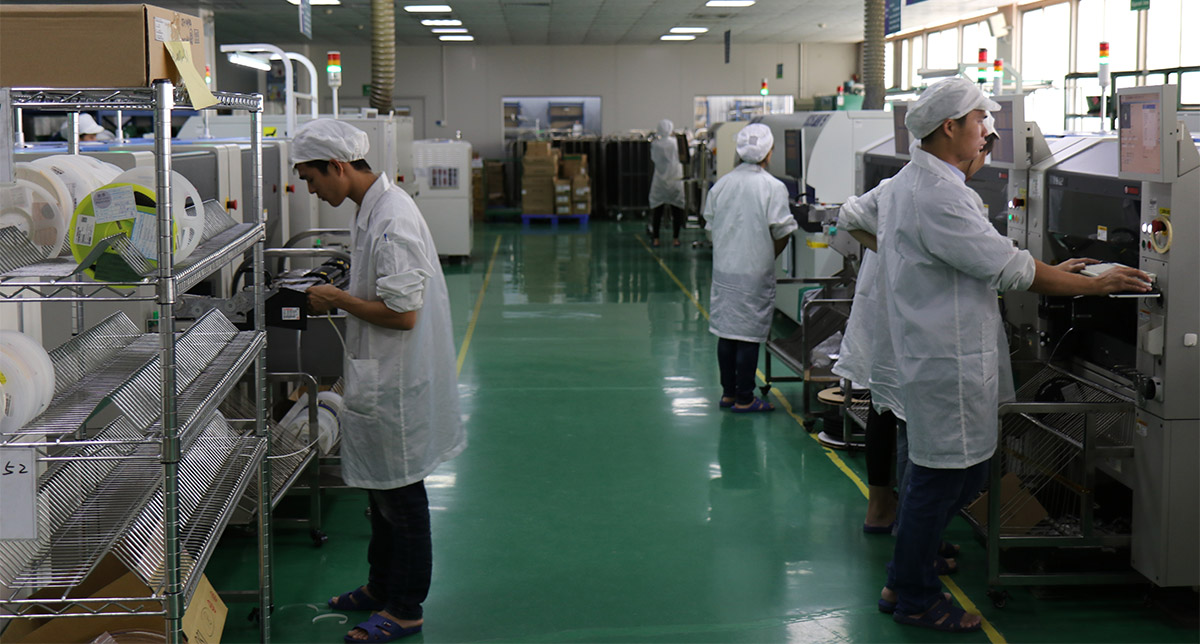
It has been the case several times in my experience where something that nobody saw, some issue or detail, something that requires rethinking and evaluation in the assembly process appears. This is usually due to some deviation that occurs when parts are made on mass as opposed to short-run samples. The best reaction is to stop proceedings first to save parts and engage in root cause analysis discussions to understand where an issue may be coming from. It is never totally obvious, particularly with cosmetic issues. The manufacturer wants to get things made and finished, so sticking to your guns is key, to ensure that any issue is fully understood, and accounted for by the design of the assembly process.
The SOP (Standard Operating Procedures [assembly process documentation]) is open to optimisation, and production may be started and stopped based on learnings attained during this process. Tolerance standards need to be watched carefully, to ensure that the requirements are attainable and that key areas are highlighted.
If it looks easy, then the chances are, the product design, processes and standards are all working well, and seeing your product being made smoothly and calmly is probably the most satisfying thing I ever experience in my professional career.
The product is now in being made… Job done.